

the essentials in brief
In order to be able to receive all channels, you must set the right satellite for your region on the television, eg Astra 19.2°E in Europe.
You can find channels via satellite by using a satellite finder or via the automatic search function of your receiver. Learn more…
Channels can be updated by updating the channel list in Receiver be added back by performing a new search for available channels. Learn more…
In order to get the best out of your satellite reception and to enjoy your favorite channels in brilliant quality, you should set your TV channel correctly via satellite. In this comprehensive guide, I'll show you how to optimally set your TV channels via satellite and thus ensure a first-class television experience.
Contents
The ultimate transmitter installation guide

- Choose the right equipment: Decide on a high-quality satellite dish and the right LNB to ensure optimal signal quality. Take into account the desired reception area and the number of satellites you want to receive.
- Find the best location: Find a spot with a clear view of the satellite sky to avoid signal blockage. Make sure there are no trees, buildings or other obstacles in the way Signal can disturb.
- Align the bowl precisely: Use a satellite measuring device or the reception quality indicator on your receiver to align the dish exactly to the desired satellite. Fine tuning can optimize the reception performance.
- Channel- and start frequency search: Start automatically searching for available TV channels on your receiver. Pay attention to the signal strength and quality while performing the search.
- Organize and save channel list: Sort the stations found according to your preferences and save them in a user-friendly station list. So you can easily find and switch your favorite channels.
What equipment do you need for transmitter reception?
the right equipment is the key to successful satellite reception. Let's take a look at what components you need to take your viewing experience to the next level.
Your journey begins with the choice of perfect satellite dish. It is, so to speak, the gateway to the signals from space. The size of the dish depends on your location and the satellites received.
Tip: The larger the dish, the stronger the signal and the better the reception quality. Be sure to choose a high-quality dish that can withstand the elements and can be positioned optimally.
The LNB is a small but extremely important component. It is located at the front of your satellite dish and converts the received signals into electrical signals that are forwarded to your receiver.
When choosing an LNB different models available, including universal LNBs for receiving multiple satellites and monoblock LNBs for receiving signals from satellites that are close together.
The Receiver is the heart your satellite reception system. It decodes the received signals and converts them into images and sounds that you can see and hear on your TV.
There are a variety of receivers on the market simple models to high-end devices with extensive functions such as recording options and Internet access. Be sure to choose a receiver that suits your needs and requirements.
cables and connections
Quality cables and connections are critical to maintaining signal quality throughout the transmission path. use good quality coaxial cableto minimize loss of received signal.
Note: Make sure to route the cables carefully and make sure they are well protected to avoid interference from outside influences.
A pair of Satellitenfinder is a useful tool to facilitate the alignment of your dish to the desired satellite. It gives you a visual indication of how strong the signal being received is while you aim the dish. With a satellite finder you can best possible signal quality achieve and make sure your bowl is optimally positioned.
This is how you set up your favorite channels
- Search and scan channels: Open the menu of your satellite receiver and select the option "Automatic channel search". Your receiver will now search for available stations. This can take a few minutes. As soon as the search is complete, you will be shown a list of channels found.
- Organize channel list: Go through the list of channels found and mark the ones you want to receive. You can often organize stations in favorites lists. Create your own list for your favorite channels to easily find them again.
- Add station manually: It may happen that not all desired channels are found automatically. In this case you can add channels manually. You need the frequency polarization and symbol rate of the station. You can often find this information online or in forums. Go to the “Manual channel search” option in your receiver's menu and enter the required data.
- Sort and save channels: After you have found and selected your favorite stations, you can sort them according to your preferences. Most receivers allow you to move channels in the list. Place your top channels at the top so you can access them quickly. Don't forget to save the changes.
- Update program list: It's important to update your channel list regularly, as new channels may be added or existing channels may be moved. Run an automatic scan to ensure you always have the latest broadcast reception data. Also check whether all stations are still in your favorites list.
Optimize satellite settings: Improve image quality and signal strength
With a few simple adjustments, you can improve the picture quality and signal strength of your satellite TV channels. Here are some steps you can take.
The correct alignment of your satellite dish is essential for good reception. Check that the dish is aimed exactly at the desired satellite.
Small alignment changes can often make a big difference. A satellite locator on your receiver is a good way to find the optimal position. Gently turn the dish until the signal strength and quality are at their highest.
Your receiver has a signal indicator that gives you information about the strength of the received signal. You can get this ad at the fine-tuning the bowl help. Make sure that the signal strength is in the optimal range - too weak or too strong a signal can lead to picture interference. Use this display as your guide to ensure you're receiving the best possible signal.
Electronic equipment such as microwave ovens, cordless phones or wireless routers can interfere with the satellite signal. Make sure your satellite dish and LNB away from such sources of interference are. Also make sure that there are no obstacles such as trees or buildings blocking the signal. A clear view of the satellite position is crucial for a stable connection.
Tip: Your satellite receiving system also needs maintenance. Regularly check the alignment of the bowl and clean it of dirt or debris if necessary. Make sure all cables and connections are in good condition to minimize signal loss.
Common problems and simple solutions
It's annoying when you turn on your TV and suddenly your favorite channels are gone. Don't worry, problems like this are often easy to fix. Below are some common situations you might encounter and the simple solutions that will help you.
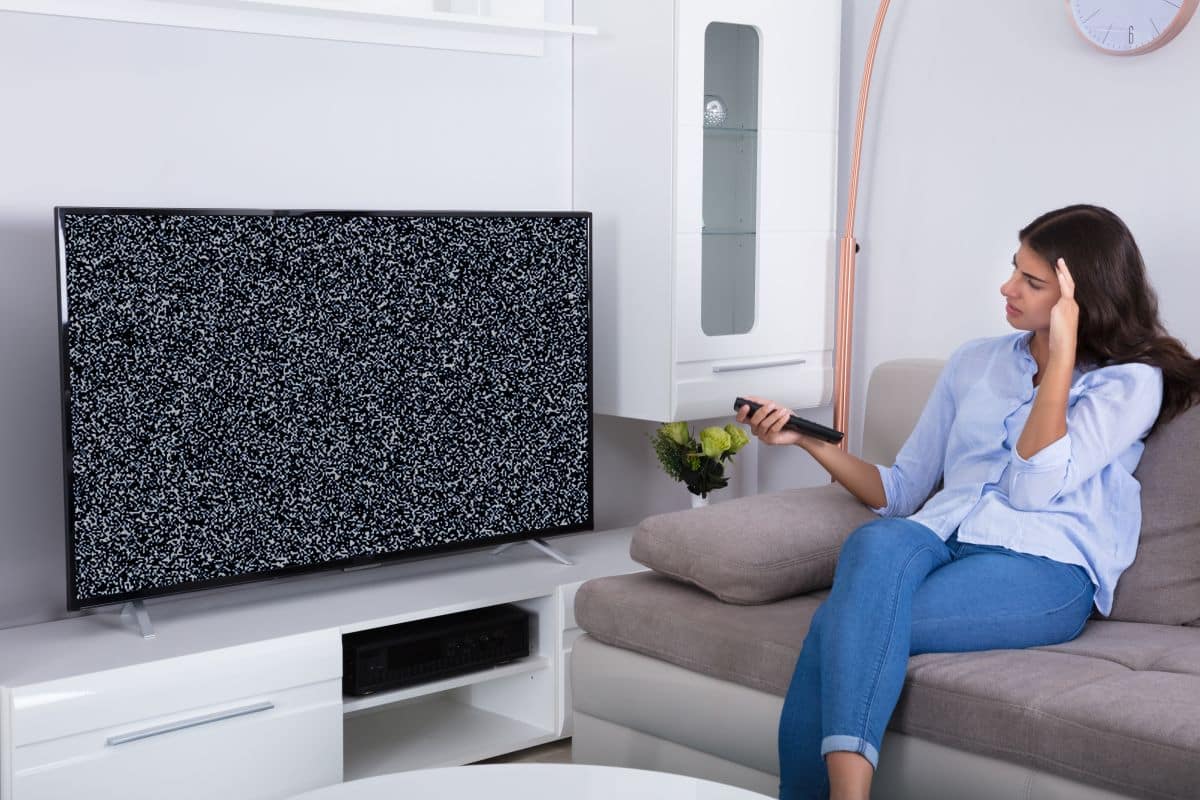
No signal and bad picture quality
There's nothing more frustrating than a black screen saying "No Signal". If you have this problem, first check if your Satellite dish still aligned correctly is. A storm or strong winds could have changed the position. Adjust the dish carefully until the signal quality improves again. make sure that no obstacles are blocking the signal, such as branches or buildings.
If your image suddenly looks fuzzy or pixelated, it could be due to a bad alignment of the dish or due to a weak LNB signal. Try the bowl easy to turn to optimize the signal. If that doesn't help, check the signal strength display on your receiver. If the strength is low, a defective LNB be the cause. In this case you should exchange it.
Missing channels
It can also happen that your usual channels are suddenly missing. In such a situation it may be that the Transponder parameters changed to have.
Tip: Check the frequency, polarity and symbol rate settings in your receiver. Sometimes these need to be updated manually. You can search the latest transponder data online and enter it into your receiver.
Most receivers offer a function for Channel list update. This option can be useful when new channels have been added or when there have been changes to the existing channels. Update regularly to make sure you don't miss any new content.
Disorders
Bad weather, in particular heavy rain or snowfall, may cause temporary signal problems. This is normal as signals can be affected as they travel through the atmosphere. In such cases, patience is required. When the weather improves, the signal should return.
sometimes can technical problems on the receiver appear. Restart the receiver by briefly disconnecting it from the power supply and then switching it on again. Also check the cable connections between the dish, receiver and TV. Loose or damaged cables can cause problems.
Perfect reception for perfect entertainment
You now have all the information you need to optimally set your satellite TV channels. From selecting the equipment to installing the dish and fine-tuning the channel list, this guide will walk you through the journey to a top-notch viewing experience. Enjoy your favorite programs in the best quality and experience limitless television!