
In a world dominated by digital photography, understanding the possibilities of RAW files is essential for photographers who want to realize the true potential of their photos. RAW files contain all the unedited data captured by your camera's image sensor, giving you greater flexibility and control over the final image.
Contents
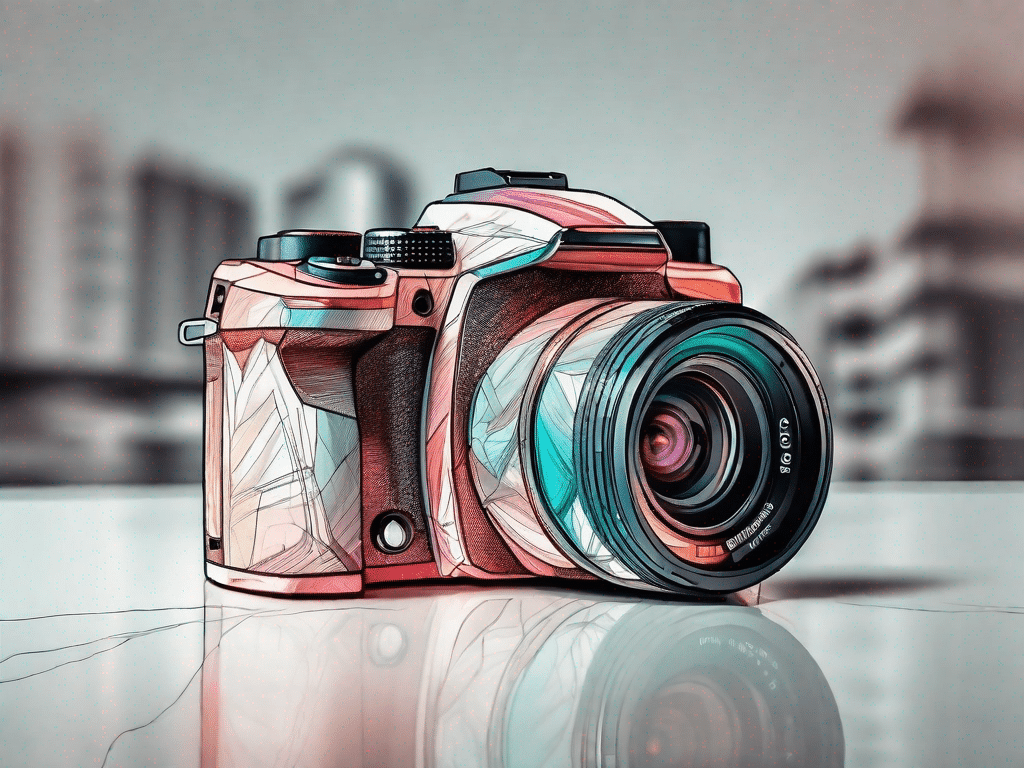
The power of camera RAW: Unleash the full potential of your photos
The advantages of shooting in RAW format
When shooting in RAW format, your camera saves the unchanged data from the image sensor without any compression or processing. This means you have access to the full dynamic range of the scene, giving you greater control over exposure, highlights and shadows in post-production.
One of the biggest advantages of RAW files is the ability to restore lost details in over- or under-exposed areas. RAW files contain more bits of data per pixel saved, resulting in a larger amount of information to work with. This means that even in difficult lighting conditions, there is a higher chance of salvaging important details that would otherwise be lost in a JPEG image.
Additionally, shooting in RAW format offers greater flexibility when adjusting white balance. Because white balance in RAW files is non-destructive, you can easily correct color casts or temperature issues in post-processing without sacrificing image quality.
Open and edit camera RAW files in various programs
Opening and editing camera RAW files can be done in a variety of software applications. Adobe Lightroom and Photoshop are very popular among photographers due to their advanced RAW editing features.
To open a RAW file in Adobe Lightroom, simply import the file into your library and the program will automatically display the RAW image for editing. Lightroom offers a range of adjustment tools to improve your RAW photos, including exposure, white balance, color correction and noise reduction.
If you prefer working with Adobe Photoshop, you can open RAW files directly from the Camera Raw plugin. Once opened, you can make adjustments using the various tools available, such as: B. Exposure, contrast, curves and lens corrections.
Other software applications such as Capture One and DxO PhotoLab also offer powerful RAW editing features. They allow you to take full advantage of the raw data captured by your camera and give you complete control over every aspect of the image.
The Technology Behind Camera RAW: Exploring the Technical Aspects
Demystifying camera RAW file formats and extensions
Camera RAW files come in different formats and extensions depending on the camera manufacturer. Common RAW formats include Canon's CR2 format, Nikon's NEF format, Sony's ARW format, and Adobe's universal DNG format.
The CR2 format is exclusive to Canon cameras, while NEF is used by Nikon. Sony cameras usually save images in ARW format. The DNG format is an open standard developed by Adobe that can be used by various camera manufacturers.
Each format has its own features and benefits. However, most modern RAW formats allow for extensive flexibility in post-processing, offering higher bit depths and lossless compression options.
The difference between DNG, CR2, NEF and other camera RAW formats
Although the different RAW formats serve the same purpose of preserving your camera's unprocessed data, there are some differences worth noting.
For example, Canon's CR2 format supports a wider range of advanced features designed specifically for Canon cameras. These include lens aberration correction and Dual Pixel Raw technology, which enables advanced focus adjustment in post-processing.
Nikon's NEF format, on the other hand, offers the advantage of a smaller file size due to its compressed RAW format. This can be useful when working with limited storage space or for burst shooting at events.
Adobe's DNG format is an open standard designed for universal compatibility with various software and hardware platforms. It offers the advantages of long-term archiving and simplified file management.
Important terms for working with Camera RAW
Demystifying White Balance and Exposure in Camera RAW
In Camera RAW, white balance refers to the Color temperature of the light when the photo was taken. By adjusting the white balance, you can correct color casts caused by different light sources. You can fine-tune to achieve accurate, natural-looking colors in your photos.
Exposure, on the other hand, refers to the amount of light that reaches your camera's image sensor. In RAW camera, you have the flexibility to adjust exposure during post-processing without sacrificing image quality. You can restore details from overexposed highlights or bring out details from underexposed shadows.
RAW vs. JPEG: What you need to know
Unlike RAW files, JPEG files are processed and compressed by your camera, discarding some of the original data. While JPEG images are smaller and can be shared or printed quickly, they offer limited post-production flexibility.
RAW files contain all of the original data and give you greater latitude in adjusting exposure, white balance, and other settings. This means you can make more extensive changes without affecting image quality.
However, RAW files require additional work as they must be processed and converted to a usable format such as JPEG or TIFF before distribution or printing.
Mastering Camera RAW Images: Tips and Techniques
How to Improve Colors and Details in Camera RAW
When working with camera RAW images, there are several techniques you can use to enhance colors and details.
First, the Vibrance and Saturation sliders allow you to boost the colors in your image without producing unnatural-looking results. Increasing vibrancy enhances the less saturated colors, while saturation affects all colors in the image.
Second, sharpening can bring out fine details in your photos. Adjusting sharpness settings in the RAW editor can help improve the overall clarity of your image while maintaining a natural look.
Correcting exposure and shadows in Camera RAW
If your photo is over- or under-exposed, Camera RAW offers the ability to correct exposure and shadows in post-processing.
To correct an overexposed image, you can adjust the exposure slider to reduce the brightness. You can also restore detail in the highlights by decreasing the highlights slider or increasing the shadows slider to reveal details in the darker areas of the image.
If you have an underexposed image, simply increase the exposure slider to brighten the image. Fine-tuning the Shadows slider can help bring out details in the darker areas.
Making these adjustments in camera RAW can significantly improve the overall exposure of your photos.
With a deeper understanding of camera RAW image files, you can take your photography to the next level. When you shoot in RAW and take advantage of the powerful editing capabilities of RAW software, you have the opportunity to create stunning and captivating images that truly reflect your vision.